728x90
이전 글들 중에서 작성한 코드 중 일부 수정, 추가하여 진행합니다. (Controller, .jsp, .js)
코드 : https://github.com/wmdwjddyd6/Board-Spring-MVC
GitHub - wmdwjddyd6/Board-Spring-MVC
Contribute to wmdwjddyd6/Board-Spring-MVC development by creating an account on GitHub.
github.com
1. View (write.jsp)
<%@ taglib uri="http://java.sun.com/jsp/jstl/core" prefix="c"%>
<%@ page contentType="text/html; charset=UTF-8" pageEncoding="UTF-8"
	language="java"%>
<%@ page session="false"%>
<html>
<head>
<title>글쓰기</title>
</head>
<body>
	<h1>글쓰기 화면</h1>

	<form>
		제목 <br />
		<input size="120" type="text" id="title" name="title" value="${board.title}" /> <br /> <br />
		내용 <br />
		<textarea cols="100" rows="13" id="content" name="content"><c:out value="${board.content}"></c:out></textarea>
		<button type="button" id="write_btn">작성</button>
	</form>

	<a href="/">메인으로 돌아가기</a>

	<script src="https://ajax.googleapis.com/ajax/libs/jquery/3.3.1/jquery.min.js"></script>
	<script src="/resources/js/write.js"></script>

</body>
</html>- [글쓰기 버튼을 클릭하여 접근하는 새 글 작성 & 수정 버튼을 클릭하여 접근하는 글 수정] 화면을 한 jsp파일을 사용하여 구현합니다.
- 수정버튼을 클릭하여 접근할 경우 해당 글의 제목과 내용을 보여주기위해 기존 write.jsp 코드에서 input의 value를 추가했습니다.
2. JavaScript (write.js)
var writeBtn;
var boardId = location.search.substring(9);

if(boardId < 1) {
	writeBtn = document.getElementById("write_btn").addEventListener("click", write);
} else {
	writeBtn = document.getElementById("write_btn").addEventListener("click", update);
}

function write() {
    console.log("작성 메서드 실행");
    var title = document.getElementById("title").value;
    var content = document.getElementById("content").value;
    var data = { "title": title, "content": content };

    $.ajax({
    	contentType: 'application/json',
        type: "POST",
        url: "/board",
        data: JSON.stringify(data),
        success: function (response) {
            console.log("성공 : " + response);
            location.href="list";
        },
        error: function (response) {
            console.log("실패 : " + response);
            console.log(response);
        }
    })
}

function update() {
    console.log("수정 메서드 실행");
    var title = document.getElementById("title").value;
    var content = document.getElementById("content").value;
    var data = { "title": title, "content": content };

    $.ajax({
    	contentType: 'application/json',
        type: "PATCH",
        url: "/board/" + boardId,
        data: JSON.stringify(data),

        success: function (response) {
            console.log("성공 : " + response);
            location.href="list";
        },
        error: function (response) {
            console.log("실패 : " + response);
            console.log(response);
        }
    })
}- 기존 write.js 코드를 수정, 추가했습니다.
- location.search를 통해 url 파라미터를 받아 올 수 있습니다. 받아온 파라미터를 사용하기 위해 substring으로 사용할 부분만 잘라냈습니다. (예로 /board/write?boardId=27 의 경우 ?boardId=27을 추출합니다.)
- 새 글 작성 & 기존 게시글 수정 유/무(url에 boardId 존재 유/무)에 따라 작성 버튼 이벤트를 분리했습니다.
- contentType을 JSON형식에 맞추기 위해 application/json으로 수정합니다.
- data 또한 JSON형태로 데이터를 보내기 위해 JSON.stringify()를 사용하여 가공합니다.
- Controller에서 @RequestBody 어노테이션을 사용할 것인데 위와 같이 contentType과 data를 JSON에 맞게 작성하지 않으면 WARN 레벨의 에러를 반환합니다. (물론 기능 작동 또한 제대로 진행되지 않습니다.)
3. Controller
@Controller
public class BoardController {

	private static final Logger logger = LoggerFactory.getLogger(BoardController.class);

	@Autowired
	private BoardService boardService;

	/*
	 * 게시글 작성 & 수정 화면 이동
	 */
	@RequestMapping(method = RequestMethod.GET, value = "/board/write")
	public String writeForm(Model model, @RequestParam(required = false) Long boardId) {
		if (boardId != null) {
			BoardDTO boardDTO = boardService.getPost(boardId);
			model.addAttribute("board", boardDTO);
		}

		return "board/write";
	}

	/*
	 * 게시글 수정
	 */
	@ResponseBody
	@RequestMapping(method = RequestMethod.PATCH, value = "/board/{boardId}")
	public int update(Model model, @RequestBody BoardDTO boardDTO, @PathVariable(value = "boardId") Long boardId) {
		logger.debug("{}번 게시글 수정 호출", boardId);

		int result = 0;
		result = boardService.update(boardDTO, boardId);
		logger.debug("result is {}", result);

		return result;
	}

}- 기존 게시글 작성 화면으로 이동하는 코드를 수정하고, 게시글을 수정하는 메서드를 추가합니다.
- writeForm
- 게시글 작성 시에는 새로운 글을 작성하는 것으로써, boardId가 존재하지 않습니다. 반면, 게시글 수정 시엔 해당 게시글을 조회하고 수정 버튼을 클릭하여 접근하기 때문에 기존 boardId가 존재하게 됩니다.
- 즉, boardId가 존재한다면 수정을 목적으로 접근했기 때문에 수정하고자하는 데이터를 보여주기 위해 해당 게시글의 정보를 addAttribute해줍니다.
- @RequestParam을 이용하여 url에 존재하는 boardId를 가져와서 어떤 게시글을 수정하는지 알 수 있도록 합니다.
- 게시글 작성 시에는 새로운 글을 작성하는 것으로써, boardId가 존재하지 않습니다. 반면, 게시글 수정 시엔 해당 게시글을 조회하고 수정 버튼을 클릭하여 접근하기 때문에 기존 boardId가 존재하게 됩니다.
- update
- 게시글의 정보를 일부 수정하는 것이기 때문에 PUT이 아닌 PATCH method를 사용합니다.
- value & PathVariable : /board/27의 경우 27번 글의 수정을 의미합니다. 또한, @PathVariable 어노테이션을 통해 이 27 값을 변수로 사용할 수 있게 합니다.
- @RequestBody를 사용하여 JSON 형태로 들어오는 값으로 BoardDTO를 초기화 해줍니다.
- boardService의 update 함수에서 수정 로직을 수행할 수 있도록 호출합니다.
4. Service
@Service
public class BoardServiceImpl implements BoardService {

	private final BoardMapper boardMapper;

	@Autowired
	public BoardServiceImpl(BoardMapper boardMapper) {
		this.boardMapper = boardMapper;
	}

	@Override
	public int update(BoardDTO boardDTO, Long boardId) {
		boardDTO.setId(boardId);

		return boardMapper.updateBoard(boardDTO);
	}

}- Service구현체의 update메서드에서 수정하고자 하는 게시판ID를 setter 합니다.
- DB가 정상적으로 이뤄지면 1을 반환합니다.
5. Mapper
public interface BoardMapper {

	// 게시글 수정
	int updateBoard(BoardDTO boardDTO);

}
<?xml version="1.0" encoding="UTF-8"?>
<!DOCTYPE mapper
PUBLIC "-//mybatis.org//DTD Mapper 3.0//EN"
"http://mybatis.org/dtd/mybatis-3-mapper.dtd">
<mapper namespace="com.spring.shoppingmall.mapper.BoardMapper">
<sql id="boardColumns">
id
,title
,content
,delete_yn
,create_date
,views
,type
</sql>
<!-- 게시글 수정 -->
<update id="updateBoard" parameterType="com.spring.shoppingmall.model.BoardDTO">
UPDATE
tb_board
SET
title = #{title},
content = #{content}
WHERE
id = #{id}
</update>
</mapper>- Update 구문을 통해 해당 id의 게시글과 제목을 수정합니다.
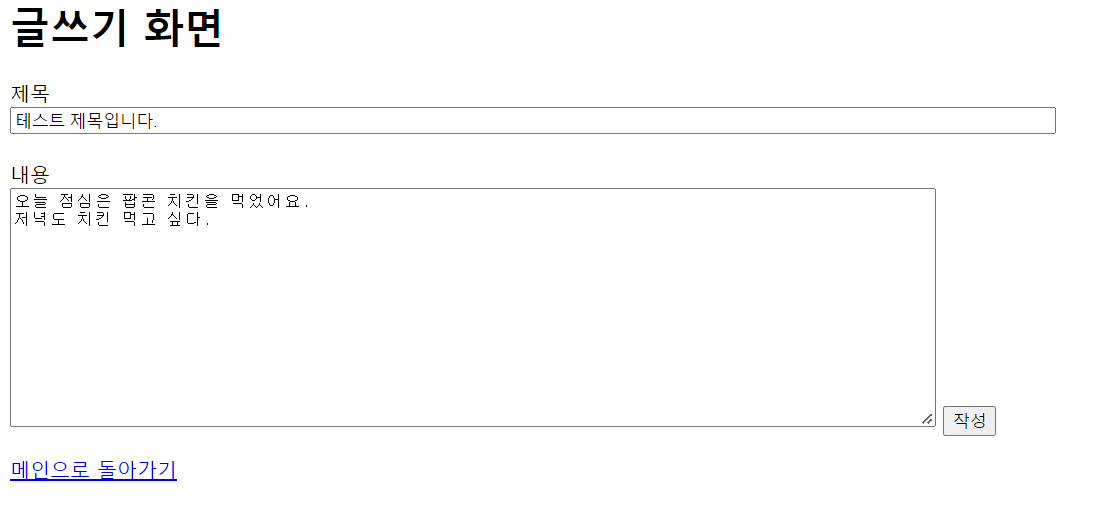
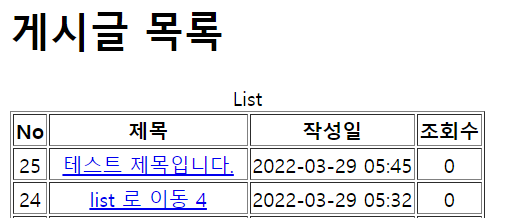
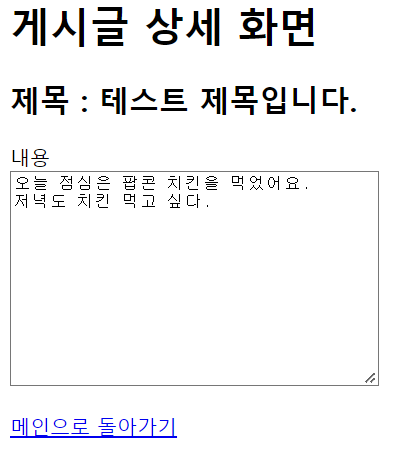
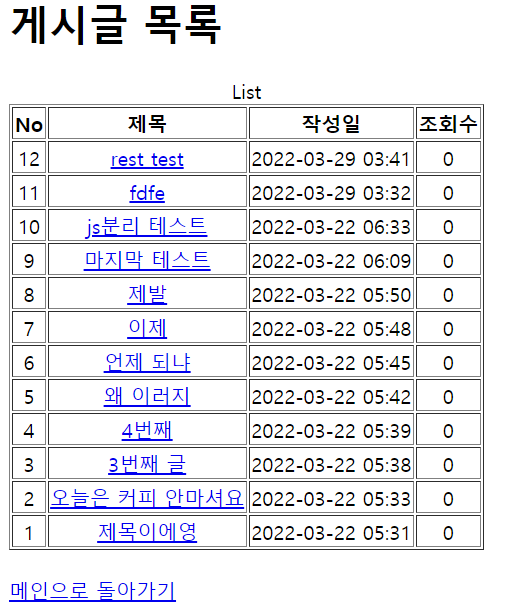
6. 결과

'Web > Spring' 카테고리의 다른 글
| [Spring MVC] 3. 게시글 조회 (0) | 2022.03.29 |
|---|---|
| [Spring MVC] 2. 게시글 목록 조회 (0) | 2022.03.29 |
| [Spring MVC] 1. 게시글 작성 (0) | 2022.03.22 |
| [Spring MVC] org.springframework.http.converter.HttpMessageNotWritableException: No converter found for return value of type: class java.lang.Integer 해결 (0) | 2022.03.22 |
| [Spring MVC] 0. 프로젝트 셋팅 (0) | 2022.03.08 |